Nobody’s out here on YouTube straight up uploading and hitting publish all willy-nilly in 2024. Scheduling YouTube videos helps you keep a consistent content calendar and allows you to publish at the best times for your audience.
Effective content planning is the backbone of every content marketing strategy — and scheduling your videos in advance is a key part of that.
Here’s how to schedule a YouTube video on desktop, mobile, and (spoiler alert) even more conveniently with Hootsuite.
Bonus: Download the free 30-day plan to grow your YouTube following fast, a daily workbook of challenges that will help you kickstart your Youtube channel growth and track your success. Get real results after one month.
How to schedule videos on YouTube (Desktop)
Step 1: Log in to YouTube
Of course, you need an active YouTube account before you can schedule a video. Set up your YouTube channel first, if needed.
Step 2: Go to YouTube Studio
Head over to YouTube Studio. Find it by clicking on your profile photo at the top right of your screen, or go to www.studio.youtube.com.

Alternatively, you can click the camera icon at the top right anywhere on YouTube to get to the same video upload screen. If you do it this way, skip to Step 4.
YouTube Studio also has a bunch of advanced tools, so I recommend sticking to using it, though.

Step 3: Click Create
Click Create at the top right of your Studio dashboard, then select Upload video(s).

Step 4: Upload your video
Whether you got to this screen from YouTube Studio or another page on YouTube, the rest of the process is the same. Drag and drop or click to select your video file and it’ll start uploading.
Important: If you upload a video that’s under 1 minute (and in 9:16 format), it’ll be classified as a YouTube Short. This means it will live in the Shorts area instead of the main video browser. However, it will still publish to your channel as a video.
YouTube Shorts are a great way to grow your channel, but they work quite differently than regular YouTube videos. Check out our complete guide to YouTube Shorts for the best results.

Step 5: Add your video information
While it uploads, you can add a title, description, and more.

Your video is private until you choose to publish it so no need to rush to finish this page.
Make sure to fill out the following required information:
- Title
- Description
- Thumbnail
- Whether the video is made for kids under 13 or not
- Paid partnership disclosure (mandatory, if applicable)
And consider completing these optional, but highly recommended, items:
- Playlist
- Tags
- Recording date
- Location (can help with local search results!)
- Turn remixing on or off (on by default)
- Category
- Whether to show how many people like it or not
Wondering how to get those awesome chapter breaks — also called “YouTube timestamps” — that let people easily skip around your video? (Thereby increasing overall watch time.)
In the description box, simply write the minute and second where you want a chapter to begin followed by a chapter title. Like this:

Source: Hootsuite Labs on YouTube
Spend some time fully optimizing these fields for the best chance at getting more video views, even for small channels.
Once you’re finished adding all your video info, click Next.
Step 6: Add captions
Here you can add subtitles, end screens, and info cards. These are all optional but have benefits.
First up: subtitles/captions. Click Add.

On the next screen, you can choose to either upload a properly formatted captions file (usually in .srt or .sub format), a basic text file with captions, or play the video and manually type out captions.

Not keen on spending hours typing out captions or paying for professional transcription? There is another option: YouTube automatically captions videos in some languages, including English. Although these may not end up 100% accurate.
To ensure you’re producing inclusive content, I recommend investing money in professional captions, or your time to type them yourself.
Step 7: Add an end card
In YouTube lingo, an “end card” is the final shot of your video and usually where you’re directing people to either subscribe, click a link, or watch another video. End card graphics allow you to put in these call to actions.
Clicking Add from the video elements screen brings up a tool to add and position your end card content. You can add your own element, like a video or playlist, by clicking + Element. Or use one of the suggested templates.

You can have YouTube decide which of your videos to feature here depending on the viewer’s preferences, or pick your own selection. You can also move the cards around so they don’t block your face, or just fit into your video better.

Step 8: Add other cards
During your video, you may mention a product, website, or another video of yours. In the Cards section, you can add these precisely where you want to within your video. The process for adding them is similar to adding end screen cards above.
Click the plus icon next to the type of card you want to add.
Note: To use the link card for external website URLs, you must be in the YouTube Partner Program (A.K.A. monetized).

For a video, channel, or playlist card, pick the video, channel, or playlist you want to link to.

Customize your card text and you’re done!

To add more cards, click + Card at the top, then add as many as you want. When you’re done, click Save at the top right.
Step 9: Fix any issues
After clicking Next from the video elements page, YouTube tells you if it found any copyright claims or other things that need to be addressed before you can publish your video.
Take care of anything here, if applicable, then click Next for the final step.

Step 10: Schedule your YouTube video
This is it! First, choose Public as the visibility setting for your video (unless you want to keep it private). Then pick your date and time in the Schedule box.
Optionally, set your video as a Premiere. This makes it seem sort of like a webinar in that it’s a countdown-timed event. For the duration of the video at launch time, there’s a group live chat area for everyone who’s currently tuning in.

Select Schedule at the bottom, and your video is good to go.
How to schedule videos on YouTube (Mobile)
I’ll show you how to schedule YouTube videos in the iOS version, but the same process applies for Android.
Step 1: Open the YouTube app
Tap the plus icon in the middle of the navigation bar at the bottom.

Step 2: Choose to post a video or Short
YouTube Short will be selected by default but if you want to schedule a regular, long-form video, tap Video instead.

Step 3: Choose your video file
Tap on the video to upload. YouTube brings up a barebones editor where you can either click Next to proceed with the upload, or edit the long-form video into a Short.

Step 4: Add your video details
The mobile version has many of the same video options as the desktop process, including the most vital ones like adding a title, description, choosing a playlist, and setting a location.

Notably, adding tags isn’t available when scheduling from mobile. They’re not critical but you could edit your video on desktop later to add them in before the video goes live, if you wanted to.
Step 5: Add a custom thumbnail
Thumbnails are the main reason people click to watch a video. To add a custom one on mobile, tap the photo icon at the top left, then choose an image from your phone’s photo library.

Step 6: Schedule your video
Tap on Visibility then Schedule.

Choose your date and time then tap the back arrow to return to the video details page.

Step 7: Upload your video
Once you’re happy with the title, description, scheduled date, and other settings, tap Upload and you’re done.

How to schedule YouTube videos using Hootsuite
Step 1: Add your YouTube Channel to Hootsuite
If you haven’t already, add your YouTube Channel to Hootsuite.
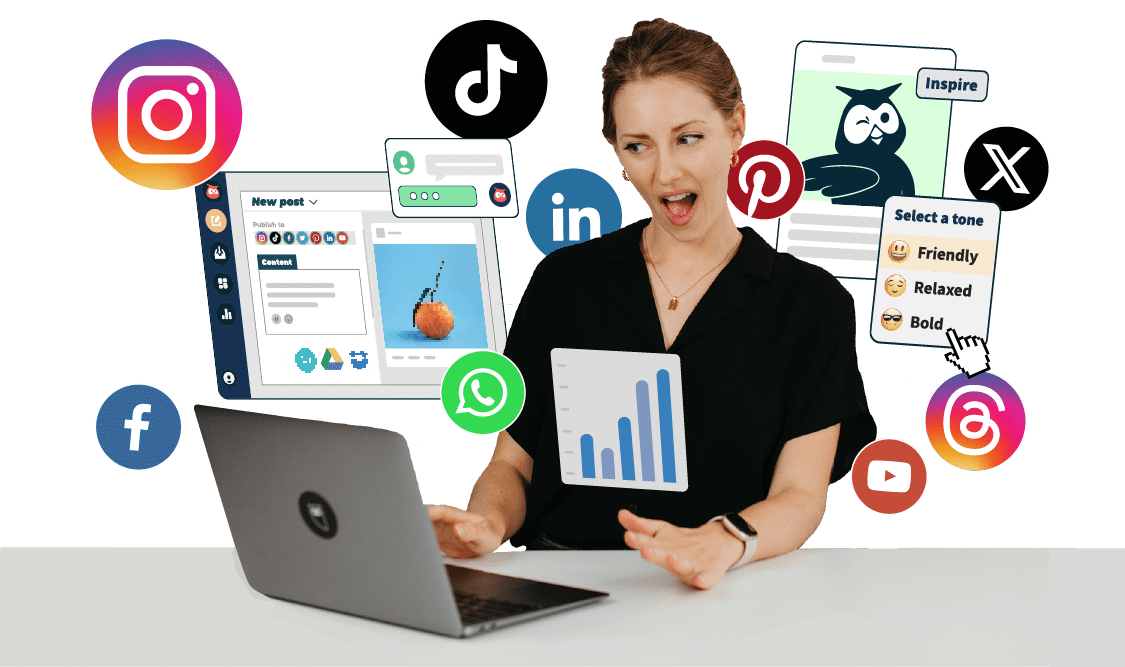
Oh, yeah, and all your other social media accounts so you can plan, schedule, and publish content across all your platforms from one easy dashboard. But you knew that already, right?
Step 2: Upload your video
Click on Composer on the left side menu, then select YouTube video.

Choose your video and it’ll start uploading.

Step 3: Fill out your video info
Similar to YouTube, you can edit your video’s title, description, tags, and category while it uploads in the background.

Step 4: Select your thumbnail
Once your video is finished uploading, you can choose from several thumbnail options with the forward and back slider, or upload a custom thumbnail image by clicking the camera icon. (This appears once it’s done uploading.)

Step 5: Schedule your video
Clicking Publish Now will do exactly what it says. To schedule your YouTube video instead, first change the privacy to Unlisted.

Then click the slider to on for Schedule to go Public.

Choose your date and time then click Schedule at the top.
Bonus: Create social media content before your video goes live!
After you schedule your YouTube video in Hootsuite, you get a link you can use to promote it right away. Simply copy it, or click Share via Hootsuite, to schedule social media posts directing people to your new video once it’s live.

This saves a lot of time by letting you schedule a YouTube video and all its associated promotional content across all your channels from one place all at the same time, without having to wait for the video to launch first.
Do you need Hootsuite to schedule YouTube videos? Nope. YouTube’s built-in scheduler provides more settings and options. But personally, I find the uninterrupted workflow of being able to schedule YouTube alongside my other platforms, plus scheduling promotional posts for the video I just uploaded, priceless.
Or, suit yourself: stick to YouTube’s native video scheduling but use Hootsuite for all the rest of your social media planning and publishing.
How to delete a scheduled video on YouTube
Step 1: Log in to YouTube Studio
Go to the Content section, then either Videos or Shorts, depending on the type of scheduled video you want to delete.

Step 2: Hover over the video you want to delete
Hovering over a video reveals a menu. Click the three dots. Alternatively, if you just want to change the scheduled date or time, click the pencil icon to enter the edit screen instead.

Step 3: Choose delete forever
YouTube will ask you to confirm, and that’s it.

Make sure to check the box, then click Delete Forever.

Tips for scheduling YouTube videos
Work out a consistent schedule
Consistency is important for all social platforms but is rewarded especially well on YouTube. There are a lot of factors that go into the way YouTube recommends videos to people but having an active channel with regularly posted videos only helps that.
That’s a big deal since YouTube algorithm recommendations drive 70% of all viewer watch choices.
Promote your scheduled videos on other social channels
Another basic-sounding tip here but difficult to keep up with sometimes. We get it. But rather than going after a brand new audience on YouTube, you have a better chance of converting your followers on other platforms into YouTube channel viewers since they already like you enough to follow you.
And naturally, Hootsuite makes it easy to promote your YouTube videos on all your other social media platforms with scheduling, analytics, and engagement tools all in one place.
Check out everything Hootsuite can do to save time and help you grow faster on YouTube in under 2 minutes:
Try a YouTube Premiere
As you may remember from earlier, you can choose to set a scheduled YouTube video as a “premiere.” This shows a countdown to your audience in places like the Home feed and other areas and, if they click into it, they can get notified when the video launches.
Videos currently “premiering” get this red badge in Home and search results too:

Even previously recorded videos get treated to the “livestream-like” experience since every YouTube Premiere video has a chat room for those watching in real-time once it is published.
After the video has played through, it becomes like any other video on YouTube and the chat room feature is disabled. Besides for actual livestreams, YouTube Premieres are a great way to build momentum for a particularly exciting and/or important video, or to use for an event or announcement.
Plan and schedule YouTube videos alongside content for all your other social media platforms from one easy-to-use dashboard with Hootsuite. Analyze performance, respond to comments and DMs with a unified Inbox, and save time with AI tools like Best Time to Publish and OwlyWriter. Try it today.