The ever-changing Facebook algorithm has long been a hot topic for social media marketers, creators, and business owners.
The order in which posts are shown, the type of content that shows up in users’ feeds, and the type of engagement posts get are all determined by the Facebook algorithm. Making it essential to understand for anyone who uses Facebook to consume or distribute content.
Whether you love it or hate it, the simple truth is you’ve got to work with it if you want your Facebook marketing efforts to succeed. Here, we explain everything you need to know about the algorithm Facebook uses to rank content and shape the feeds of its 3.05 billion users.
What is the Facebook algorithm?
The Facebook algorithm is a set of rules that determine what people see every time they check Facebook. The rules use AI to rank content and determine how relevant that content will be to each user. Facebook calls this “personalized ranking.”
Essentially, the algorithm evaluates every post, Facebook ads, Story, and Reel. It scores content based on predictions and signals, and then the algorithm ranks it in descending order of interest for each user. This process happens every time a user refreshes their feed.
According to Facebook, the social network uses algorithms to curate your feed so that when you open Facebook, “you experience a mix of ‘connected content’ (e.g., content from the people you’re friends with or are following, Facebook Groups you’ve joined, and Pages you’ve liked) as well as ‘recommended content.’”
Facebook algorithm changes for 2025
Now that we understand what the Facebook algorithm is, let’s dive into how it’s changing in 2025. As mentioned above, the algorithm is constantly evolving and being updated to ensure a better user experience.
The main thing you need to know is that Artificial intelligence (AI) has become an integral part of the Facebook algorithm. With its advanced machine learning capabilities, Facebook uses AI to help personalize content for users by analyzing their behavior and preferences on the platform.
Here are some of the changes you can expect in 2025.
Increased focus on authentic engagement
Facebook has made it clear that it wants to prioritize posts that spark conversations and generate meaningful interactions between users. Posts that don’t receive engagement may see a decrease in reach.
One of the best ways to generate authentic engagement is by encouraging audience participation in your Facebook marketing.
Ani Ghazaryan, head of content and marketing at Neptune AI, agrees that she’s seen the most engagement on Facebook this year when sharing interactive content.
“In my experience managing social media platforms at Neptune AI, we’ve seen a noticeable increase in the reach and engagement of interactive content and content that taps into trending topics,” she says. “For example, polls, quizzes, and live videos are performing exceptionally well as they drive user interaction and increase the time users spend on a post.”
Relevance score calculation
The Facebook algorithm calculates a “relevance score” for each post and uses it to rank content in users’ feeds. The goal is to show people the content that will be most valuable to them, in order of value.
As Meta describes, “posts the system predicts will provide more value for you are shown higher up in your Feed.” The algorithm will then intersperse recommended content and a variety of post types to ensure that users don’t see multiple posts of the same type in a row.

Source: Meta
SEO and organic reach play a huge role here. For example, posts that are tagged with popular keywords or show up in relevant Facebook groups tend to get a higher score.
Factors that influence this score include the kind of content, user interactions with similar posts, and how long a user spends viewing posts in the same category.
AI-driven recommendations
Meta is constantly improving its AI systems to provide personalized content recommendations. Currently, Facebook’s Feed ranking system uses over 100 different prediction models. In 2025, we can expect its AI to get even more intelligent.
Chris Marine, founder & CEO of Campfire Consulting, believes that AI will continue to drive personalization and content recommendations on the platform.
“In 2025, we anticipate an even stronger focus on AI-curated content and hyper-personalized user experiences,” he says. “As Facebook leans into more advanced AI-driven recommendations, brands should prepare for increased competition in delivering highly relevant, audience-specific content.”
With Facebook ads becoming more personalized, targeting the target audience has never been more important.
Diversified content mix
Going into 2025, brands and users alike will see a shake-up of content types in the Feed. Reels will continue to be prioritized, but users might also start seeing more augmented reality (AR).
Even though Meta announced it’s shutting down Meta Spark’s third-party AR tools and content in January 2025, Meta’s own AR effects will continue to be available. This points to Meta’s shift to implementing native AR content.
Ghazaryan suggests that brands can get ahead of the trend by understanding how AR can be used in Facebook content.
“AR could change the way businesses create immersive experiences for users, especially in industries like retail, insurance, and education.”
Schedule posts, answer messages, and manage ads from one place. Then, show off your results in beautiful reports. It’s so easy.
Start your free trialHow does the Facebook algorithm work?
Short answer: AI. Meta uses AI systems that are constantly learning and adjusting over time. Part of their work is to use predictions to identify signals and improve the algorithms that connect Facebook users with the most valuable content for them.
Over the years, algorithm ranking signals have been added and removed and had their importance adjusted.
Moving into 2025, the Facebook algorithm takes the following steps when determining which content is most relevant to a particular user:
- Inventory
- Signals
- Predictions
- Score
Here’s how those ranking factors work:
- Who posted it: You’re more likely to see content from sources you interact with, including friends, business pages, and businesses. Content posted by trusted sources will rank higher, while content involving fake news may rank lower.
- Type of content: If you most often interact with video, you’ll see more Facebook videos. If you engage with photos, you’ll see more photos. You get the idea.
- How likely you are to engage with the post: If the algorithm thinks you’re likely to comment, like, or share a post, then it’s more likely to show it in your feed.
- How interested will other people be in this post: If the Facebook algorithm determines that a post will generate meaningful interactions between users, such as comments, shares, and replies, it will be ranked higher.
Now let’s break down how the algorithm works for each segment of Facebook, from the Feed to Marketplace.
2025 Facebook Feed algorithm
Facebook’s news feed algorithm mainly (but not exclusively) features relevant content from people, brands, and Groups you’re already connected to. Facebook explains that this algorithm uses the four steps shared above to determine the order of the content users see in their feed:
- Inventory: All the content available from the people, pages, and groups you’re connected with, plus relevant ads and recommended content based on your Facebook activity. Facebook emphasizes that the Feed “primarily comprises the content shared by your connections.”
- Signals: Facebook analyzes hundreds of thousands of signals such as who posted the content and when it was posted.
- Predictions: The algorithm crunches the data from the signals to make custom predictions about which content you’re most likely to engage with.
- Relevance: Each piece of content gets a relevance score, with the highest-scoring posts closer to the top of your feed. Facebook makes predictions about the following to come up with a score:
- Likelihood to click
- Likelihood to spend time with this post
- Likelihood to like, comment, and share
- Likelihood that you’ll find this informative
- Likelihood that this is clickbait
- Likelihood that this links to a low-quality webpage
Facebook also gives users options that help them train the algorithm and customize their feed by taking the following actions:
- Manage favorites: This feature lets you choose what you see first in your feed. When you add people and Pages to your favorites, Facebook will prioritize their content so you’ll see it first in your feed.
- See newest content first: This action allows you to see content from the people, groups, and pages you follow in reverse chronological order.
- Hide a post: You won’t see the post again, and it’ll minimize similar content from showing up in your feed.
- Show more or show less: Taking this action will temporarily increase or decrease the ranking score for the post.
- Unfollow: You can unfollow a person, Page, or group to stop seeing their posts.
- Reconnect: You can also follow a person, Page, or group even if you previously unfollowed them.
- Snooze: This action allows you to temporarily stop seeing posts from a person, Page, or group until stop the snooze.
- Report content: If you see content that looks like spam or false news, you can report it.
2025 Facebook Reels algorithm
The Facebook Reels algorithm follows the same ranking system as the Feed described above. As described by Meta, those are:
- Inventory
- Signals
- Predictions
- Relevance
These signals can be further broken down into more distinct actions and triggers based on predictions. Here’s how some of those prediction and input signals break down:
- How likely you are to click a reel in your Feed to view it in full-screen
- How likely you are to finish watching a reel
- How likely you are to share a reel on WhatsApp
- Whether or not you’ll click to like a reel
- How likely you are to share a reel to Messenger
- How likely are you to view more than one video after watching the initial video
- The percentage of a reel you’re predicted to watch
- How much time are you likely to spend watching Reels after watching the initial video
- The total amount of time you’re predicted to spend watching a reel
- How likely you are to keep watching more reels after finishing a reel
All of these predictions are based on your previous behaviors and actions taken around reels. Facebook analyzes everything from the types of reels you watch to the accounts you’ve interacted with to the topics of the reels you’ve engaged with.
Beyond these signals, there are some important best practices to help make your Reels more discoverable (a.k.a. ranked higher by the algorithm). The overarching principle is to make high-quality content. What exactly does that mean?
Here are the specific recommendations straight from the source:
- Be entertaining and engaging
- Start a trend
- Use built-in tools like text, filters, or other effects
- Stick to vertical video
- Add music
- Experiment with different approaches
- Use good lighting and camerawork to create a video that’s visually pleasing
And here’s what to avoid:
- Blurry or low-resolution video
- Videos with watermarks from other apps (i.e., TikTok)
- Video with a border around it
- Horizontal video
2025 Facebook Stories algorithm
Just like content in your Feed or on Reels, Facebook Stories content is guided by Meta’s AI systems. Stories follow the same ranking system as described above. Here’s how Facebook’s algorithm decides how to rank content:
1. Gather stories: Meta’s AI gathers relevant stories shared in the last 24 hours and removes any that violate its Community Standards.
2. Make and analyze predictions: From there, the algorithm predicts which stories you’ll find the most relevant and valuable. It removes the rest.
3. Rank Stories: The AI then ranks the stories that are left based on how likely you are to interact with them.
Meta also lists a fourth step that states it “applies additional rules” to ensure a balanced mix of content.
Like the content in your Feed and on Reels, you can also customize what you see in Stories.
Here are the options you have to control what you see in Stories:
- Report: You can report stories that go against Meta’s Community Standards
- Mute: After muting a story, you won’t see any stories from the person or Page you muted.
- Unfollow: If you unfollow a Page or person, you won’t see stories from them.
- Share: Sharing a story to your own story or through Messenger lets the algorithm know you found value in it.
- See oldest stories first: This option ensures you see stories before they disappear.
If you’re a creator or marketer, it’s important to follow a few best practices to ensure your Facebook Stories content has the best chance of signaling the algorithm. Here are a few tips and tricks for creating Facebook stories:
- Make it vertical: Just like with Instagram Stories, your content should be shot vertically.
- Use templates: If you don’t consider yourself a graphic designer, take advantage of Facebook’s templates for Stories
- Include a CTA: Encourage engagement by making sure every story has a CTA. The more engagement you get from users, the more the Facebook algorithm will prioritize your content for them.
2025 Facebook Marketplace algorithm
The algorithm also plays a role in the content you see in Facebook Marketplace. The Facebook Marketplace algorithm follows the same ranking system as Feed, Reels, and Stories, as described by Meta:
1. Gather inventory
2. Leverage signals
3. Make predictions
4. Rank listings by score
The content you see in Marketplace is primarily based on your browsing and shopping activity, but you have a few more options when it comes to content customization.
- Choose categories: Like other ecommerce channels, Marketplace allows you to apply category-specific filters when shopping.
- Identify interests: You can also let Facebook know what you’re browsing for, such as specific brands or categories.
- Set location: Marketplace is a great way to connect with local sellers. You can choose the location you want to see listings from, even if it’s different from the one on your Facebook profile.
- Browse in a non-personalized way: If you don’t want to the algorithm to personalize what you see in Marketplace, you can choose to search for specific categories or items.
- Report listing: If you report a listing, Meta will review it to see if it violates its Commerce Policies.
- Hide listing: You can hide a listing if you want to let the algorithm know that it shouldn’t show you similar listings in the future.
11 tips to optimize your content for Facebook’s algorithm, according to the experts
Now that we’ve discussed the specifics of how the different Facebook algorithms work, let’s look at some tips for navigating them successfully.
1. Create original content
As Facebook says, “People on Facebook value accurate, authentic content.” Meta also specifies that the types of posts people “consider genuine” will rank higher in the algorithm. Meanwhile, they work to reduce the ranking for posts people find “misleading, sensational, and spammy.”
Here are a couple of tips for signaling the algorithm that your content is accurate and authentic:
- Write clear headlines: Make sure your headline clearly describes what users will find in your post. You can certainly get creative with your post captions but don’t use clickbait or misleading titles.
- Be truthful: Put simply, tell the truth. Don’t sensationalize, exaggerate, or outright lie.
On the flip side, here are some things to avoid:
- Content that impedes community safety, like violence, self-harm, or use of regulated products.
- Content with low-quality health or financial claims, like miracle cures or get-rich-quick schemes.
- Unoriginal content or unattributed news content
- False claims and misinformation
- Facebook algorithm words to avoid, such as racist, homophobic, or violent language
2. Use native platform features
One of the best ways to work with the algorithm instead of against it is by using Meta’s native platform features.
Features like Stories, Reels, live videos, and interactive tools like polls are designed by Meta to capture users’ attention and generate engagement. So it only makes sense to incorporate them into your Facebook marketing strategy.
3. Schedule posts for maximum engagement
Facebook admits that time is a primary signal when ranking content in the algorithm.
Algorithms on Facebook help people see your content even if they weren’t online when it was first posted. But as we’ve emphasized throughout this post, engagement is a key signal that indicates a post’s potential value. And you’re most likely to get that engagement–especially critical early engagement–if you post when more of your audience is online.
Not sure what the best time to post is? According to research from Hootsuite, the earlier hours on weekdays are typically the best time to post on Facebook to capture the most engagement.

Put simply, posting at the right time maximizes the chances that people will see your post, including people who are not online at the time you post!
But because you’re a busy social media manager, the last thing you want to do is wait by your computer for the perfect time to post on Facebook.
That’s where scheduling your content comes in handy.
Use Hootsuite Perch to schedule your content based on when your audience is most likely to be online. This helps capture maximum engagement, even if it’s your day off.
4. Understand what your audience wants to see
Facebook indicates it prioritizes content that is “meaningful, relevant, and informative.” So what does that mean, exactly?
- Meaningful: Content the user will want to talk to friends and family about or spend time reading or watching, based on past behavior. Overall engagement also factors in here.
- Relevant: Content is prioritized by who you engage with most, what type of content you generally like, and how many interactions it gathers from other users.
- Informative: Content someone will find “new, interesting, and informative,” which will vary by user.
Understanding what will be meaningful, relevant, and informative to your specific audience means you need to understand their unique interests and behaviors. Audience research can help you uncover these traits.
Ghazaryan emphasizes the need for deeper audience insights and suggests using data-driven tools to collect them.
“With Facebook’s growing reliance on AI and machine learning, it’s crucial to understand your audience’s preferences and tailor your content accordingly,” she says. “This means using data-driven insights to craft content that resonates with your audience’s interests and behaviors.”
5. Engage with your audience
The algorithm Facebook uses prioritizes posts from Pages that a user has had meaningful interactions with in the past. This means that bumping up your reply game is key.
If a person takes the time to comment on your post, don’t waste the opportunity. Making them feel heard with a reply makes it more likely they will continue to comment on your posts in the future. This, of course, sends more of those juicy engagement signals to the algorithm. Ignore them and they’ll likely go silent in return.

Source: Sweetgreen
“Create content that encourages user interaction, whether it’s through live videos, Q&A sessions, or posts that ask for feedback,” says Ghazaryan. “Content that drives comments and shares will naturally get more visibility.”
Pro tip: Whether you’re a solopreneur or you have a whole team of community managers in place, Nest makes managing these conversations at scale a lot easier. Make sure you never miss a comment or message so you can keep your engagement high.

6. Don’t try to manipulate the algorithm
But wait, isn’t this post all about how to manipulate the algorithm? No, this post is about understanding how the algorithm works so you can learn what Facebook considers valuable for its users.
It’s up to you to figure out how those overall principles apply to your specific audience. Then, create content that will genuinely resonate with them and send positive ranking signals to the algorithm.
The last thing you want to do is generate artificial engagement. Trying to manipulate the algorithm to get more distribution than your content merits is a big no-no. This might include paying for engagement or comments or engaging in other black-hat strategies (or “inauthentic sharing”) to manipulate reach.

Source: Facebook
Facebook specifically works to limit the distribution of clickbait, engagement bait, and deceptive landing pages, so trying to manipulate the algorithm with these strategies will only work against you. Buying likes can also reduce your distribution.
Feed preference controls also give users more power to report, block, and hide content they feel is irrelevant. Even if Facebook’s moderators don’t catch you scamming, your audience likely will.
The simple message here: Work with the algorithm, not against it.
7. Experiment with different post types
If you’ve found a post type that your audience engages with, it’s a good idea to continue creating similar content to appease the algorithm.
However, don’t be afraid to mix in some other post types or content variations to see if you can reach more people. As Facebook continues to expand its features, it’s worth experimenting with them to see how it affects your content’s reach and performance.
“I advise experimenting with new formats like AR filters, which are likely to see more integration into Facebook’s platform,” says Ghazaryan. “By staying ahead of the curve and embracing new content types, you can maintain a competitive edge.”
8. Lean into Reels
As the algorithm continues to favor Reels and short-form video, brands and creators alike will need to incorporate more of this content. If you want your content to be optimized for the algorithm, spend time crafting video content that’s engaging and stands out.
Marine suggests being creative and concise when crafting short-form video, while staying true to your message. “At Campfire, we believe in the power of purpose-driven storytelling to cut through the noise and foster deeper connections,” he says. “Focus on quality over quantity—every post should serve a purpose and connect to your brand’s values.”
9. Don’t forget to post albums
When you’re trying to bump up your engagement numbers, it can be tempting to seek out complicated Facebook algorithm hacks. But don’t forget the humble album.
Research from Hootsuite shows that albums, on average, get among the highest engagement rates at 1.6%. While video, links, photos, and status updates come in a bit lower at 1.5% and 1.3%, respectively.

We’re not saying you should create an entire Facebook Page of albums, but they can be an effective way to communicate simple information and get top engagement scores.
10. Expand your reach via your best advocates
Your employees may have more credibility and authority with the Facebook algorithm than your brand page does. This is because they have more credibility and authority with their followers and friends.
Your employees can exponentially expand your potential reach when they’re empowered to share your brand’s content in their own circles. Hootsuite Parliament can help make it easy for employees to share pre-approved content on their social channels.

Affiliate marketing is another great group of advocates that can help expand your reach and build your brand’s credibility. Give them resources and training to help them spread the word on Facebook and extend your targeted audience through their own algorithm signals.
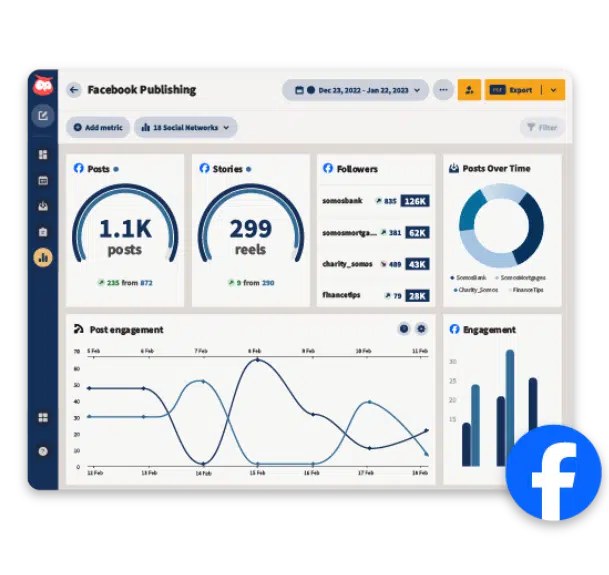
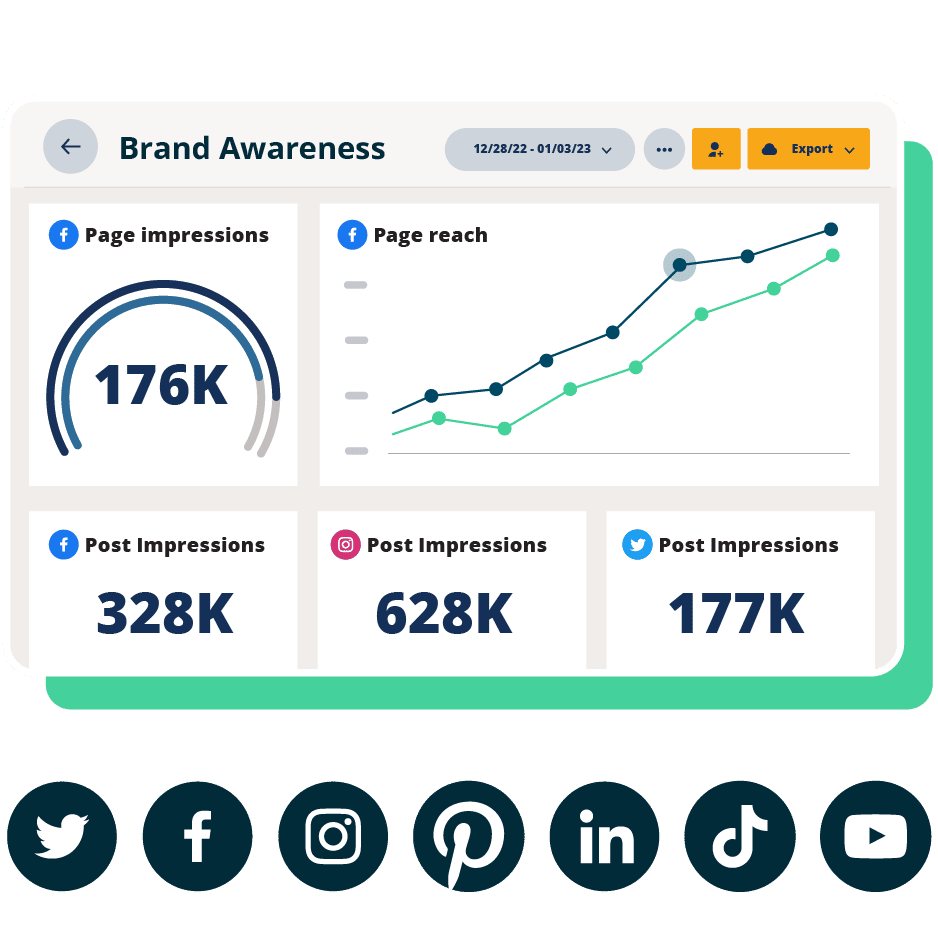
11. Monitor analytics and insights
The best way to understand the Facebook algorithm is to track and measure your own performance. By monitoring analytics and insights, you can identify trends and patterns in engagement for your specific page.
You can then use this data to adjust and optimize your content strategy to better align with what resonates most with your audience.
Pro tip: Use Hootsuite Analytics to easily monitor Facebook post data and track your page’s performance over time. You can also compare your metrics to industry benchmarks to better understand how you stack up against competitors.
Beautiful reports. Clear data. Actionable insights to help you grow faster.
Start your free trialFacebook algorithm FAQs
What is Facebook’s algorithm?
Facebook’s algorithm is a set of rules the platform uses to rank content for users. It determines what people see every time they check Facebook and in what order that content shows up.
How does Facebook decide which posts to show?
Facebook uses AI to analyze and predict which posts you’re most likely to engage with and find valuable. Predictions are based on past behaviors, interactions, and interests on the platform.
How to change the Facebook algorithm?
While you can’t change the Facebook algorithm, you can customize what content you see in the Feed, on Reels, and on Stories. Users can take actions such as hide content, unfollow Pages, and see similar content to train the algorithm on what they like or dislike.
How do I reset my Facebook algorithm?
You can “reset” your algorithm by training Facebook’s AI systems on what you want to see more or less of in your feed.
How to make Facebook posts more engaging?
You can make your Facebook posts more engaging by creating original, authentic, and interactive content. The more engaging your posts are, the more the algorithm will show your posts to users.
Manage your Facebook presence alongside your other social media channels using Hootsuite. From a single dashboard, you can schedule posts, share videos, engage your audience, and measure the impact of your efforts. Try it free today.