Table of Contents
Key takeaways
- You can schedule Facebook posts using Meta Business Suite, the Facebook mobile app, or a third-party scheduling tool.
- Meta only lets you schedule Facebook posts up to 29 days in advance, but tools like Perch by Hootsuite give you more flexibility.
- Perch lets you schedule across Facebook and every other platform at once, plus bulk scheduling and cross-platform analytics.
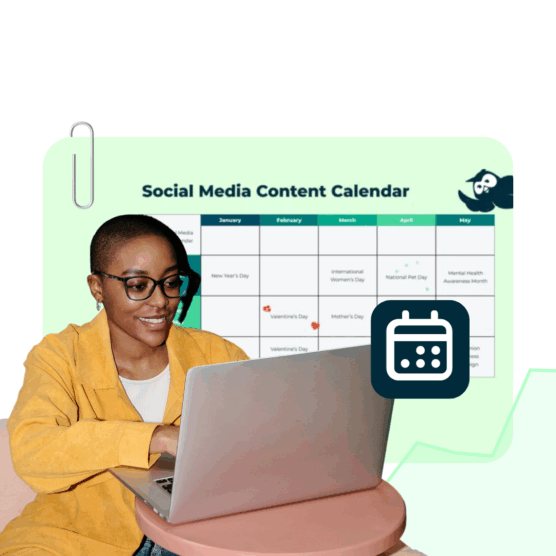
Learning how to schedule a post on Facebook can save you hours, if not days, of valuable time.
By scheduling posts ahead of time, you can plan your posts more strategically, and publish them when your audience is most active, giving you more control over your social media presence.
Why schedule Facebook posts?
Scheduling Facebook posts saves you time, sharpens your strategy, keeps your posting consistent, helps you reach audiences in any time zone, and boosts engagement by going live when your followers are active.
Here’s a closer look at all five benefits:
- Saves time: Batch-drafting posts will always beat scrambling to post something new every single day. You can round up your content, write your copy, and line everything up at the right times.
- Sharpens strategy: Planning ahead lets you be intentional, so your posts actually line up with the events, holidays, and promotions that matter.
- Improves consistency: Your audience will know when to expect posts from you, which can increase engagement and build trust.
- Time zone-friendly: If you have an international audience, scheduling posts can help reach them at the best time for their time zone.
- Increases engagement: By posting when your audience is actually online, you give every post a better shot at reach and engagement.
How to schedule posts on Facebook using Meta Business Suite
To schedule a Facebook post in Meta Business Suite, go to your Page, open Meta Business Suite, create your post, pick a date and time, and click Schedule. Here’s the full walkthrough:
- Go to your Facebook Page
- Open Meta Business Suite
- Create your post
- Navigate to scheduling options
- Schedule your post
Note: Make sure you have a Facebook business Page. Don’t have one? Here’s how to create a Facebook business Page in just a few steps.
Step 1: Go to your Facebook Page
Log into your Facebook account and navigate to your Page.
Note: To switch from your personal account to your business Page, click your profile picture in the top-right corner, then select your Page from the menu.

Step 2: Open Meta Business Suite
From your Page, click Meta Business Suite in the left menu. If you are on mobile, you’ll be prompted to download the Meta Business Suite app.

Step 3: Create your post
Click the Create post button to begin drafting your post.

A new screen opens with fields for media and text, so add your images, video, and copy here. A preview appears on the right side of your screen.

Step 4: Navigate to scheduling options
Under the Schedule section, click the Set date and time toggle.
Step 5: Schedule your post
Manually choose your desired date and time to publish your post. Meta only lets you schedule posts between 20 minutes and 29 days out.

Or, click the Active times button to see when Facebook expects your audience to be online.

Finally, click Schedule. Your post will now appear in your Planner.

Keep in mind that Meta Business Suite can only schedule Facebook and Instagram posts. To schedule across more platforms, you’ll need a more comprehensive social scheduling tool.
How to schedule Facebook posts on mobile
You can schedule Facebook posts in the mobile app if you’re posting to a Page or a profile with professional mode turned on. Here’s how to do it:
1. Tap What’s on your mind? at the top of your Feed, Page, or profile.

2. Create your post, then tap Next.
3. Under Post settings, tap Scheduling options.

4. Select Schedule for later, set your date and time, and tap Save.

5. Tap Schedule.
Keep in mind that the Facebook app only schedules one post at a time. To bulk schedule or manage multiple platforms from your phone, you’ll want to use a tool like Perch by Hootsuite.
How to schedule posts on Facebook using a third-party Facebook scheduler
Third-party tools like Perch by Hootsuite offer more advanced features, such as bulk scheduling and cross-platform publishing.
Here’s how to use Perch to schedule a Facebook post:
Step 1: Open Perch
First, log into your Perch account (Don’t have one? Sign up here. If you’re new, grab a free 30-day trial.)
Once you’re in, click Create a post from the left menu or Create post at the top right.

Step 2: Draft your post
Next, open the Publish to drop-down menu and choose the Facebook Page you want to post to. Add your photo or video and write your caption.

You can also add tags here to organize your content and track performance by campaign, or pillar.

Plus, add a Facebook target audience to help make sure the right people see your post.

Psst: Want to improve your Facebook post before it goes live? Click Enhance with Wisdom to see AI-powered recommendations for your caption — like optimizing the length, adjusting the tone, or making the copy more engaging.

You can even ask Wisdom to add the best hashtags for reach.

On top of that, the Request approval field lets you tag your team members to review and approve posts before they go live. A strong social media workflow helps protect your brand on social.

Step 3: Schedule your post
When you’re ready to schedule your post, click Schedule for later.

Then, manually choose the date and time you want your post to go live. Or, review the recommended times to publish your Facebook post. Perch’s posting recommendations are based on past engagement, impressions, link clicks, and follower data.

Once you have the time and date set, click Schedule.

Step 4: Bulk schedule Facebook posts
Need to schedule multiple posts at once? Perch’s bulk schedule tool lets you schedule up to 350 posts in one go.
First, save your posts as a CSV file. For each post, include:
- The date and time it should publish (in 24-hour time)
- The Facebook caption
- A URL (optional)
Upload your CSV to the Bulk Composer, review your posts, and add any media files. Then select Schedule.
Need to change something later? You can edit scheduled posts anytime in Perch’s Planner.
Learn more about bulk scheduling in Perch here:

Step 5: Edit or suspend posts
If at any time you need to make edits or suspend a scheduled Facebook post, simply navigate back to the Planner in Perch and click on the post you want to change.

Here, you can edit, delete, duplicate, or even move the post to your drafts.

If you need to suspend all of your Facebook scheduled posts — say, in the case of a crisis or major event — you can do so in bulk by clicking on the Suspend all option at the top right of your Planner.
Remember, only super admins and admins of Hootsuite organizations can bulk-suspend content. You can also only suspend an organization’s content in the web version of Hootsuite, but your scheduled posts will also be suspended in the mobile app.
Schedule posts, answer messages, and manage ads from one place. Then, show off your results in beautiful reports. It’s so easy.
Start your free trialPerch by Hootsuite vs. Meta Business Suite
Meta Business Suite only schedules posts to Facebook and Instagram, while Perch schedules to Facebook, Instagram, TikTok, X, LinkedIn, YouTube, and Pinterest — all from one dashboard.
Meta Business Suite is free and works well if Facebook and Instagram are your only channels. But if you’re managing multiple platforms, Perch saves you from juggling a separate scheduler for each one.
Beyond scheduling, Perch also includes:
- Analytics across every social network, not just Meta-owned platforms
- Content creation tools, including Wisdom, AI hashtag suggestions, a free stock image library, and Canva integration
- Bulk scheduling for up to 350 posts at once (something Meta Business Suite can’t do)
5 tips for scheduling Facebook posts
- Always stay on brand
- Carefully choose the publication date and time
- Know when to pause your Facebook posts
- Remember that you can’t schedule everything
- Track analytics and engagement
1. Always stay on brand
Every scheduled post should match your brand’s tone, messaging, and visuals before it goes live.
With the pressure of writing, editing, and posting daily off your hands, it’s tempting to cut corners, but your social accounts are an extension of your brand, so consistency matters.
So, before scheduling anything, make sure it aligns with your company’s values and social media style guide. Do a quick check for:
- Spelling and grammar errors
- Appropriate language and tone
- Brand colors and fonts
- Consistent use of hashtags, if applicable
2. Carefully choose the publication date and time
Schedule posts for when your audience is actually online, or even your best content will go unseen.
According to Hootsuite data, the best time to post on Facebook is 9 AM on Tuesdays. But your audience may differ, so Hootsuite’s best time to publish feature recommends days and times when your specific followers are most active.

Note: Time of day was localized across 118 countries where sample data came from, i.e. the graphs are accurate across time zones.
3. Know when to pause your Facebook posts
Hit pause on your scheduled posts when current events have made them tone-deaf, or if your brand is riding out a social media crisis.
The internet moves fast. A post that felt fun and breezy a few weeks ago can land like a lead balloon once the mood shifts. So check your queue regularly and don’t be afraid to pause or delete anything that no longer fits.
Pausing is especially smart during a crisis. In those moments, every message needs to be planned, consistent, and on the right note, and a post you queued up days ago is probably none of those things.
4. Remember that you can’t schedule everything
Some Facebook content types can’t be scheduled at all. These include:
- Facebook events
- Facebook check-ins
- Photo albums
If you want to automate Facebook messages, look into an automation tool instead. Facebook Messenger bots use conversational AI to reach customers even when your support team is offline.
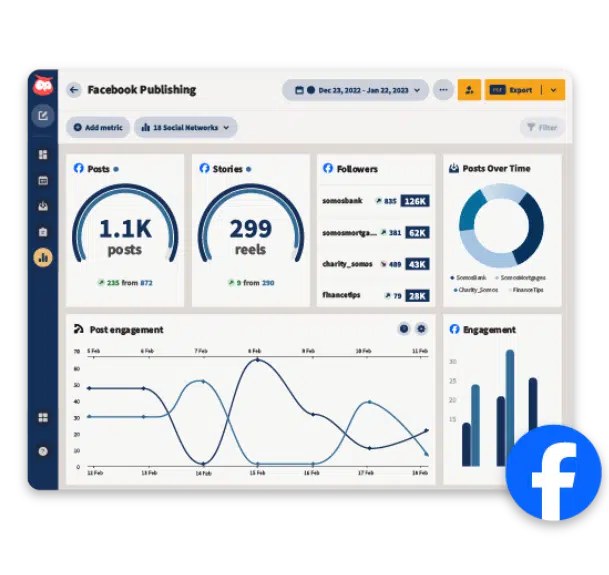
5. Track analytics and engagement
A good posting schedule shouldn’t be based on guesswork. You’ll know what works best for your Facebook audience by monitoring your performance in a social media analytics tool.
Historical data will show you what posts perform well and where you could make improvements.
FAQ: How to schedule a post on Facebook
How do you schedule a post on Facebook for a business page?
What tools can businesses use to schedule Facebook posts in advance?
How do enterprises manage Facebook post scheduling across teams and locations?
What are the best practices for scheduling Facebook posts for engagement and reach?
Facebook scheduling tools vs native Facebook scheduling: which option is best for businesses?
Schedule Facebook posts faster with Perch by Hootsuite. Use the drag-and-drop content calendar to plan, create, schedule, and publish Facebook posts alongside every other social channel — then track performance and find your best times to post, all from one place. Try it free today.