Instagram is a visual platform — so having great photos is key to a successful Instagram strategy. In other words: quality images result in quality engagement.
Thankfully, you don’t need to be a pro photographer to post beautiful content to your Instagram accounts.
All you need is your smartphone camera, a few editing tools and tricks… and a little practice.
Read on to learn how to edit Instagram photos to grow your audience and establish a compelling brand aesthetic. You’ll also get a breakdown of some of the best photo-editing apps that can take your images (and engagement) to new heights.
How to edit Instagram photos the basic way
Instagram has built-in editing tools and filters, so this is a great place to start if you’re just starting to dabble in the world of image manipulation.
1. Begin with a quality photo
Even the best filter can’t disguise a bad picture, so make sure you’re starting with a quality photo.
Natural light is always the best option but use the HDR mode on your smartphone camera when shooting in dim light, close up, or outdoor portraits for best results.
Another pro tip? Snap a bunch of shots to make sure you’ve got options when posting time rolls around.
If you’re strapped for time or inspiration, try customizing stock photography. There’s a whole wide world of free, quality stock photography out there to choose from.
Pro tip: Start with a photo that’s sized for Instagram. If your photo or video is too small, it may appear blurry or grainy, no matter how much you edit it. And you can’t edit your photo after posting. Photos that are at least 1080 pixels wide will look best. Instagram will crop your photo as a square by default, but you can adjust it to its full width or height if you prefer.
2. Upload your photo to Instagram
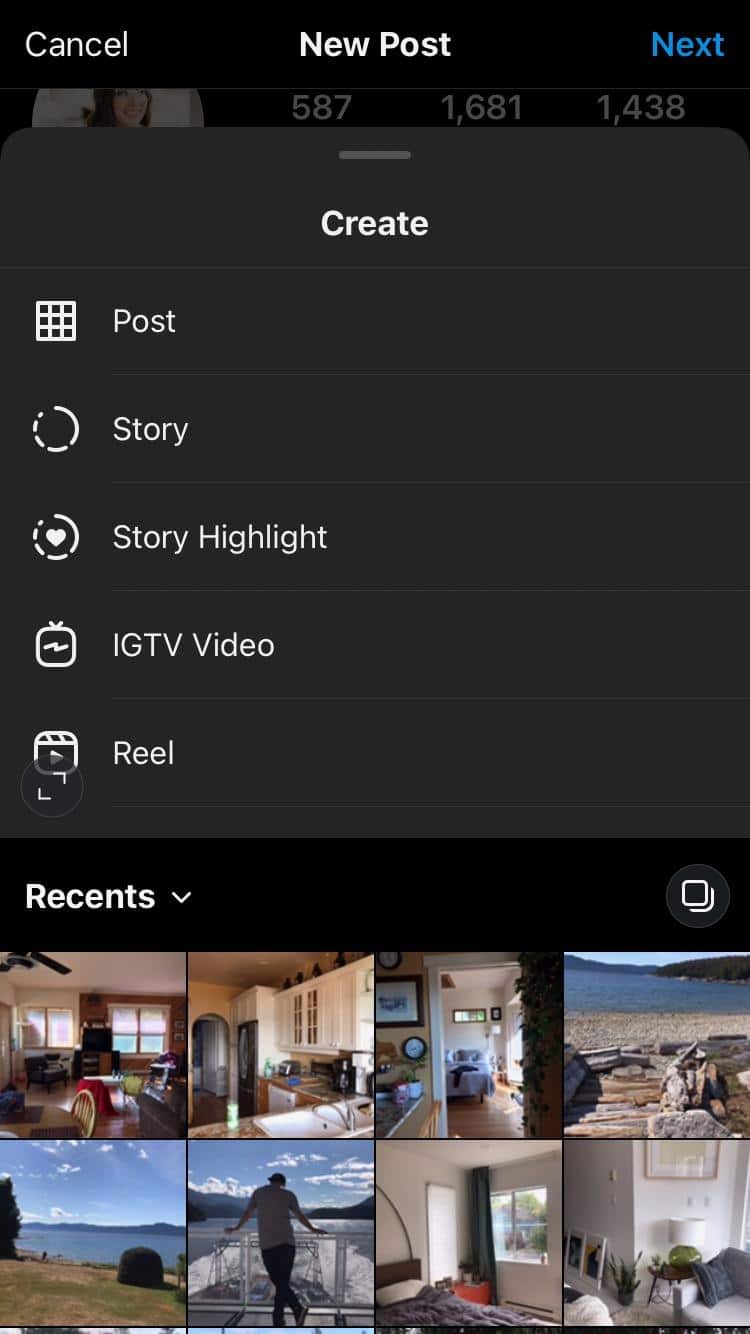
Open up the Instagram app and select the plus-sign icon in the top right.
This will open up a menu of posting options. Select post and then pick your photo from your image gallery. Tap next.
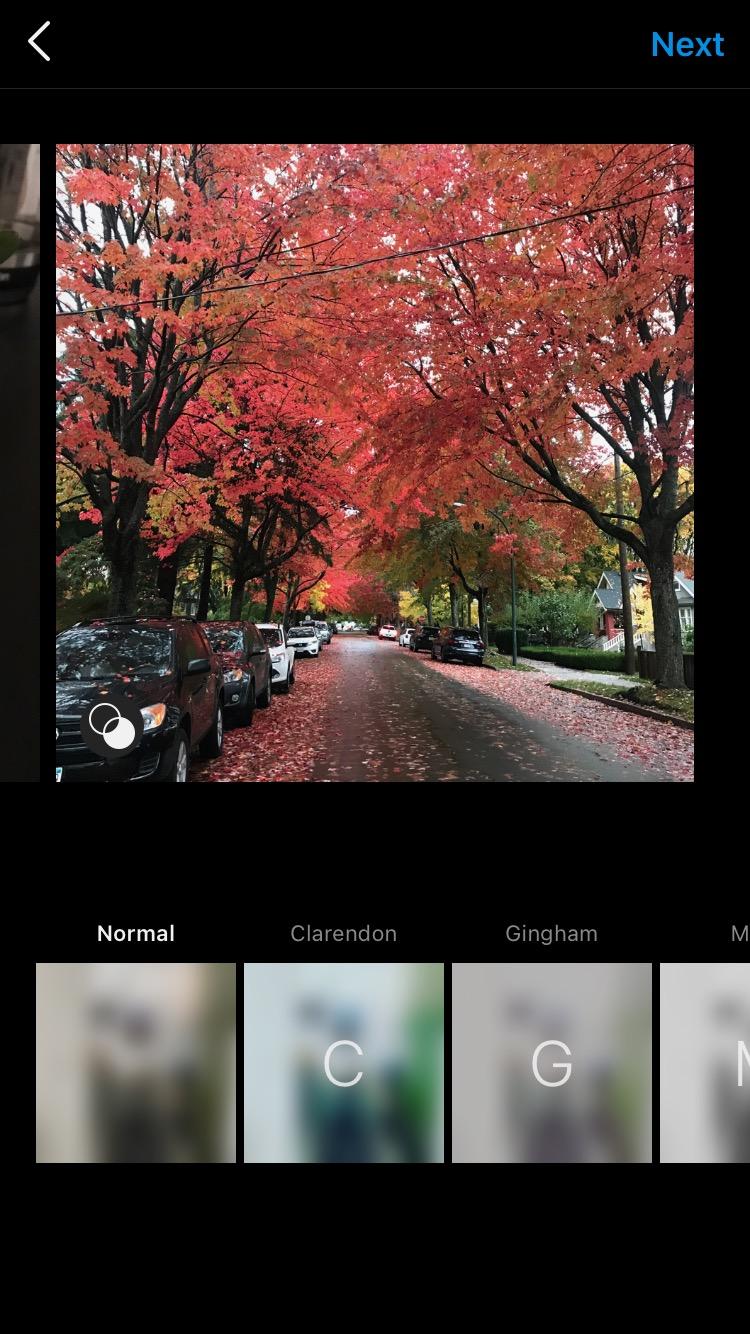
3. Pick a filter
Here, you’ll find a variety of filters, which will adjust the lighting, colors, contrast, and sharpness of the image in different ways.
“Gingham” for instance, creates a flat and muted look, while “Inkwell” turns your photo black and white. Tap each filter to preview how it will look on your particular photo.
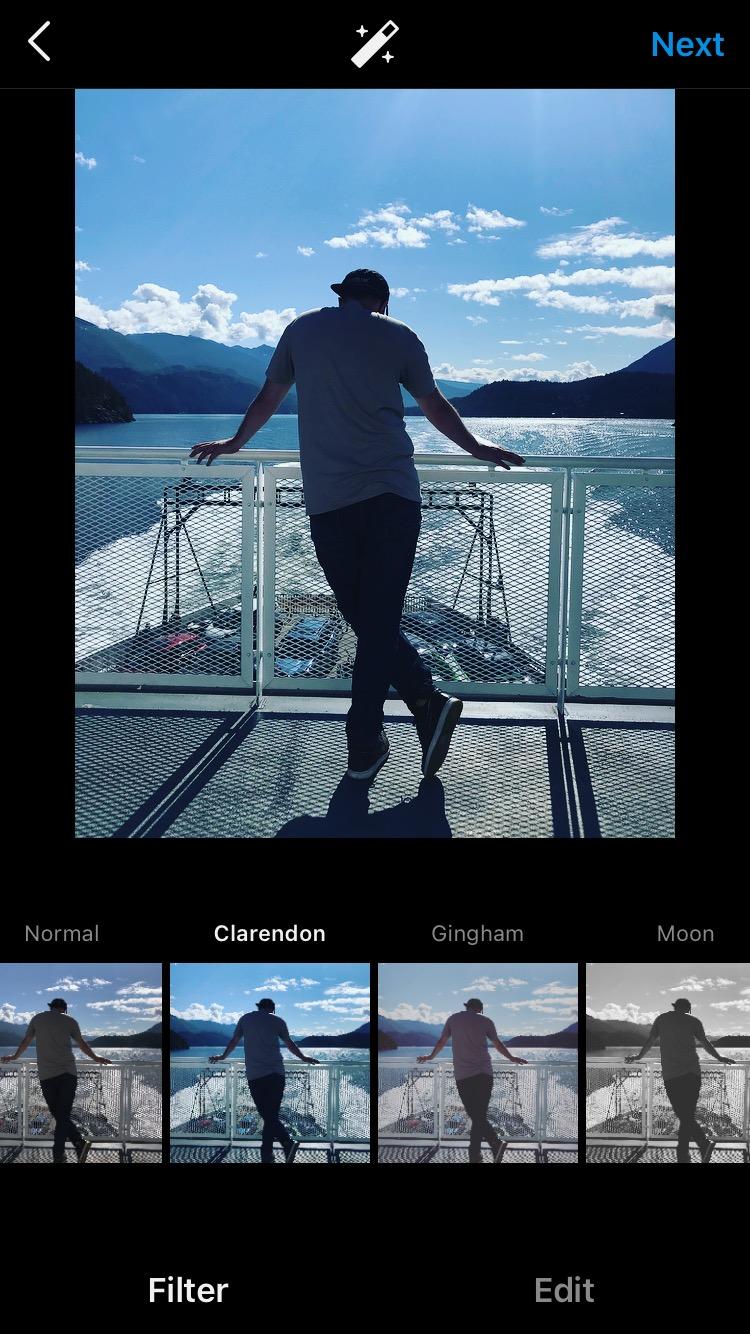
“Claredon” is the most popular filter in the world, according to Lifewire, for a cooler look that pumps up the contrast in a natural way.
Pro tip: You can adjust the intensity of any filter by tapping it a second time and adjusting the sliding scale from 0 (no effect) to 100 (full effect).
But in 2021, most pro Instagram users tend to skip the filter step all together in favor of customizing their own visual balance. Which brings us to the “edit” function in the Instagram app…
4. Customize your photo with the Instagram editing tool
At the bottom of the screen, you’ll see an “Edit” tab on the right. Tap that to access a menu of editing options:
- Adjust: Use this to straighten your photo or alter the horizontal or vertical perspective.
- Brightness: A slider to brighten or darken your image.
- Contrast: A slider to make the distinction between the dark and bright parts of the images more or less intense.
- Structure: Enhance the detailing in the photos.
- Warmth: Slide to the right to warm things up with orange tones, or to the left to cool them down with blue tones.
- Saturation: Adjust the intensity of the colors.
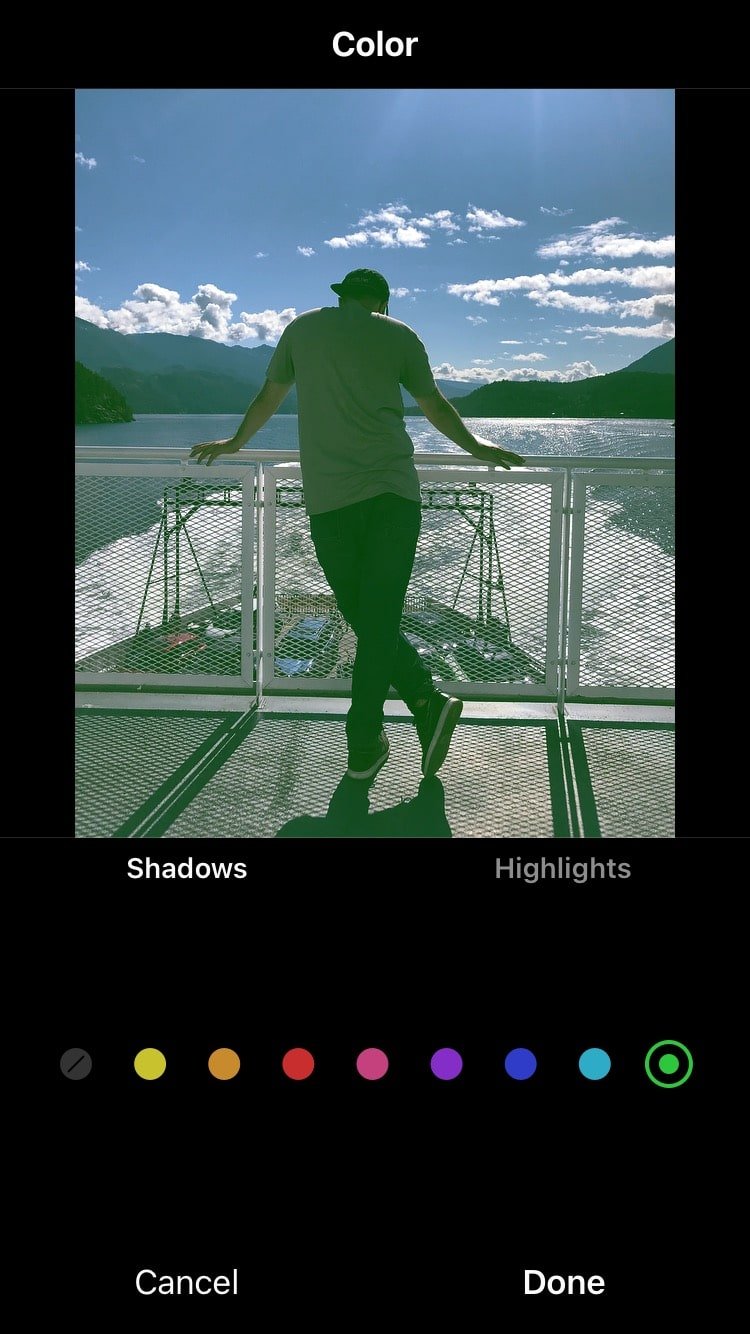
- Color: Layer on a color to either the shadows or highlights of the photo.
- Fade: Use this tool to make your photo look washed out — like it’s been faded by the sun.
- Highlights: Brighten or darken the brightest areas of the image.
- Shadows: Brighten or darken the darkest areas of the image.
- Vignette: Use the slider to darken the edges of the photo, making the image at the center look brighter by contrast.
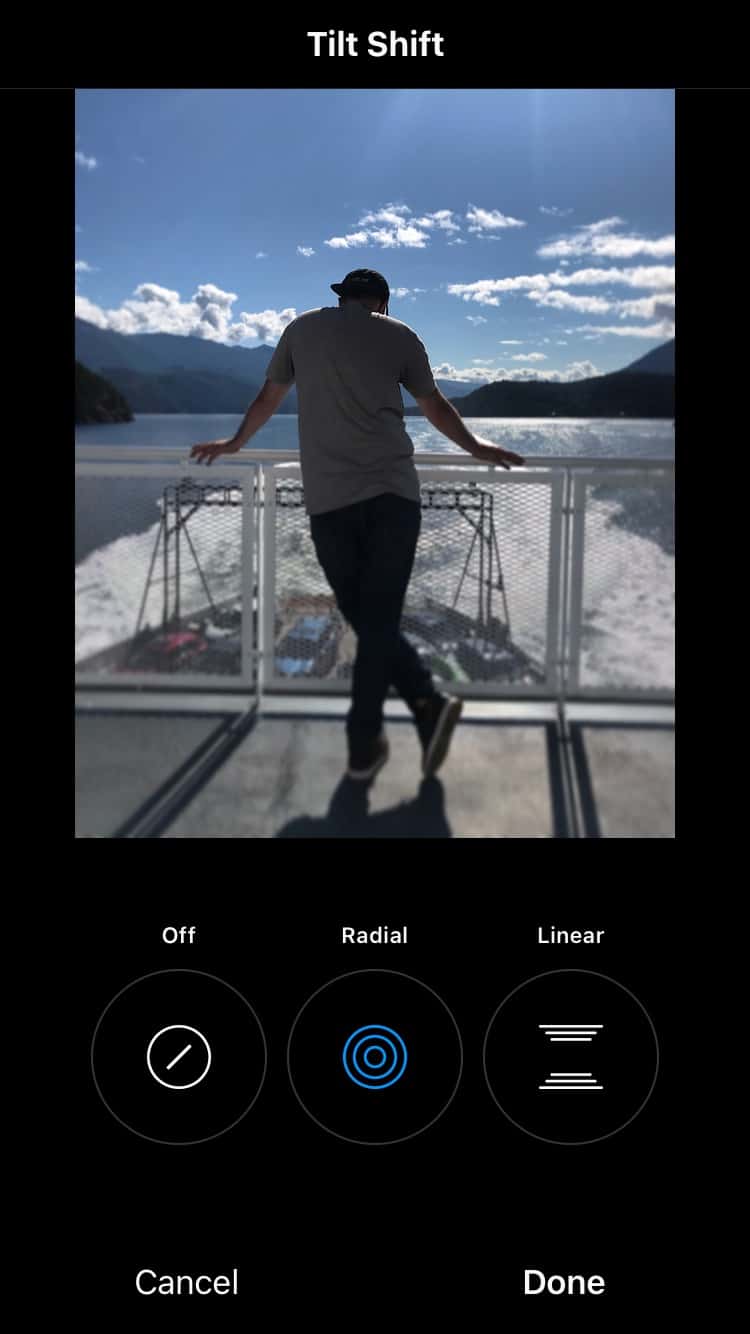
- Tilt Shift: Choose either a “radial” or “linear” focal point, and blur everything else.
- Sharpen: Make the details a little crisper. (What’s the difference between this and structure? Unclear.)
Pro tip: At the top of the screen, you’ll see a magic wand icon. Tap that to open the Lux tool, which allows you to tweak the exposure and brightness on a sliding scale.
When you’re done making your edits, tap Next in the top right corner.
5. Tweak individual photos in a multi-image post
If you’re sharing multiple photos in a single post (also called a carousel), you can edit each one separately. Tap the Venn diagram icon in the bottom-right corner of the photo to bring up individual editing options.
If you don’t do this, Instagram will apply your edits to every photo the same way. If your photos were taken in different conditions, or feature different subjects, editing them individually is worthwhile.
6. Post your photo (or save it for later)
Write your caption and tag any people or locations, then tap share to get your masterpiece out into the world.
You did it! You edited an Instagram photo! And now everyone will see!
… or if you’re feeling shy and want to wait, just tap the back arrow twice and you’ll be prompted to save your image and edits as a draft.
Instagram photo editing tips: beyond the basics
If you want to take your Instagram photos to the next level, though, you’ll need to spend a little time working on your images before you even open them in the app.
Here are a few ways to go beyond the bare minimum to make those pics pop.
Straighten up and focus
You’ve done your best in the shooting stage to create a great composition, but in case your camera wasn’t perfectly level, or if a stray piece of litter has crept into the shot at the edges, the straighten and crop tool is here to help.
This tool is the easiest way to improve your composition when it’s too late to retake the shot. A good rule of thumb? If the horizon in your photo is straight, you’re golden.
Tidy up the details
Use the spot-removing tool in your favorite editing app to clean up your images before you get to the color correction stage.
Whether that’s removing stray crumbs from the table of your food shot or discretely erasing a zit from your model’s face, cleaning up those distracting details will ultimately make your shot look more polished.
Consider the grid
Want to create a grid with a consistent, on-brand vibe? Keep your tones uniform, whether that’s warm and vintage-y, vibrant and neon or pretty in pastel.
Find some grid-spiration here, with our countdown of 7 creative ways to design an Instagram grid layout.
Mix and match editing tools
This is one of our top tips.
There’s no rule saying you need to stick with one editing app. If you love the smoothing effects of one program, and the cool filters in another, use ‘em both and get your photo just right before you upload it to Instagram
How Instagram influencers edit their photos
Wondering how to edit Instagram photos like the pros? We watched Instagram influencers’ how-to videos so you don’t have to!
You’re welcome.
TLDR: Most professional Instagram posters use multiple editing apps to get the look they want — Facetune and Lightroom are particularly popular.
Facetune is great for minor cosmetic fixes, like smoothing out skin or hiding a blemish. Once that’s done, you can use presets in Lightform to adjust the lighting, contrast and color.
(If you want to experiment with presets, we’ve got 10 free Instagram presets to download right here!)
10 of the best Instagram photo editing apps
While there are tons of great apps out there to help you make your posts for Instagram the best they can be, these are some of our favorite photo-editing tools.
1. Hootsuite Photo Editor
If you want to edit your photos in the same platform you’re scheduling posts and planning your content calendar, look no further than Hootsuite.
With Hootsuite image editor, you can resize your photos according to preset social media network requirements, including Instagram. You can also adjust lighting and saturation, apply filters and focus points, apply text, and more.
Here’s a full list of all the image editing features available in Hootsuite for Professional users and above.
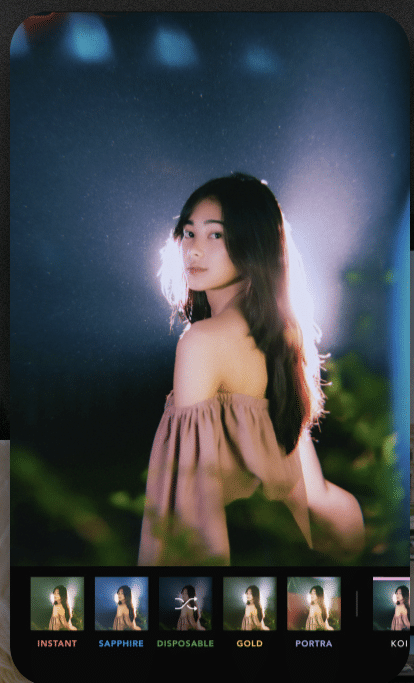
2. VSCO
The app comes with 10 free preset filters (pay to upgrade your account and you’ll access 200-plus others), and features sophisticated editing tools that help adjust contrast, saturation, grain, and fade. The “recipes” tool allows you to save your favorite combo of edits.
Source: VSCO
3. A Color Story
Filters galore (choose bright whites or moody hues to suit your style), 120-plus effects and high-level editing tools that go into photography-nerd detail (in case you wanted to tweak your “functioning curves and HSL”).
For those of us with more “big picture” brains, A Color Story also features a preview of your grid so you can workshop a cohesive look.
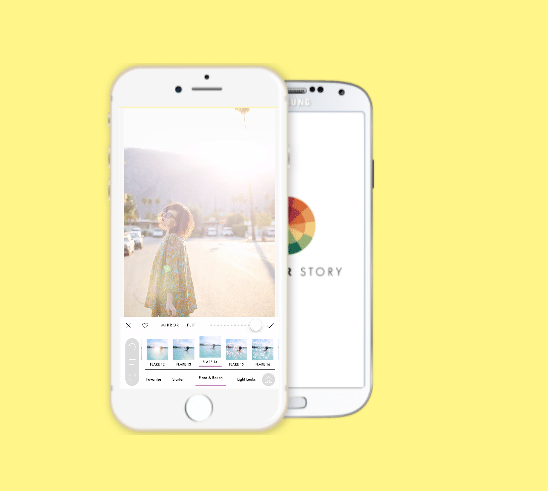
Souce: A Color Story
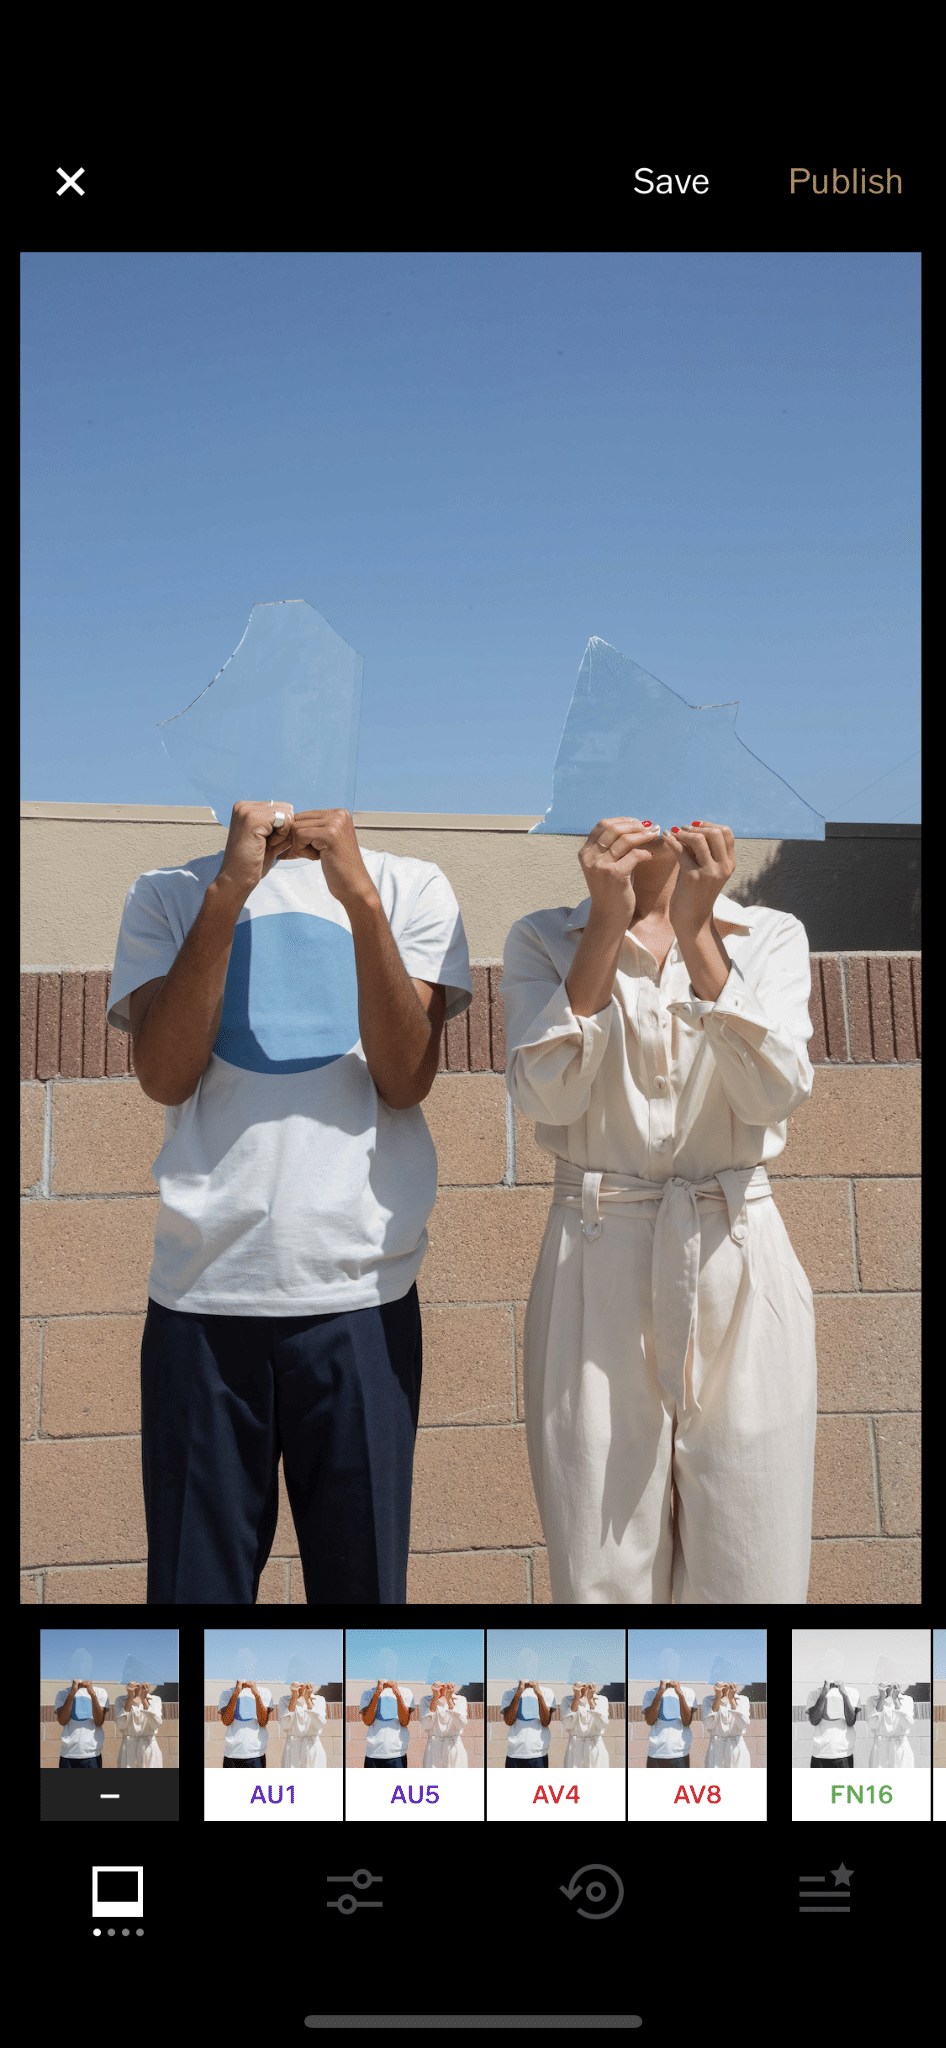
4. Avatan Photo Editor
While there’s a robust library of effects, stickers, textures, and frames in the Avatan photo editor, the retouching tools might be most useful. Smooth out skin, brighten dark spots, and patch distracting details easily.
Source: Avatan
5. Snapseed
Developed by Google, Snapseed is a robust toolkit for photo editing that lives conveniently on your phone. The brush tool allows you to easily retouch saturation, brightness and warmth; the details tool enhances surface structure to layer in texture.
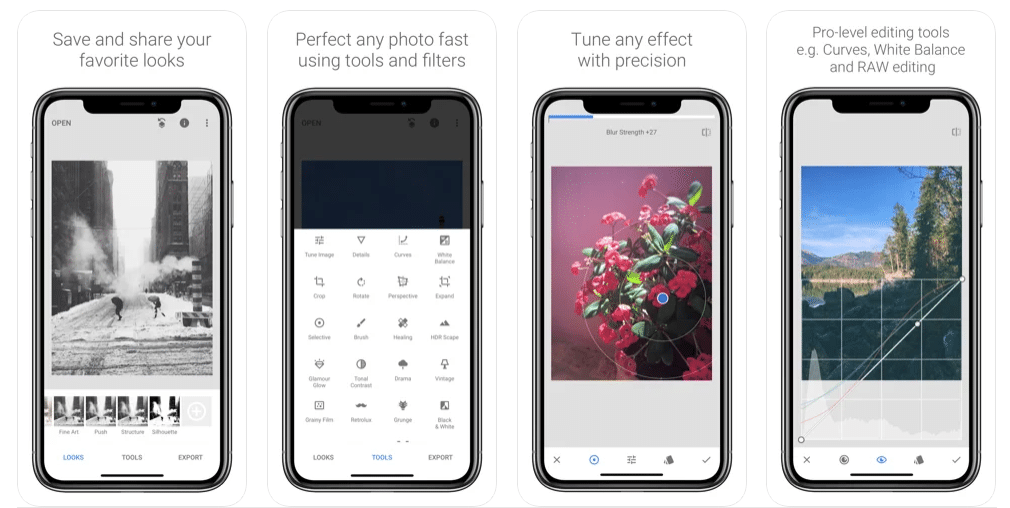
Source: Snapseed
6. Adobe Lightroom
Wondering how to edit Instagram photos fast? Presets are the answer.
And this cloud-based photo tool not only makes it easy to edit your pics on your phone or your desktop, but it’s also the editing app of choice for people using presets as filters.
The intelligent highlight tool makes it easy to edit just the photo subject or just the backdrop with a single click or tap… but the downside is that to access the most robust tools, it’s a paid subscription.
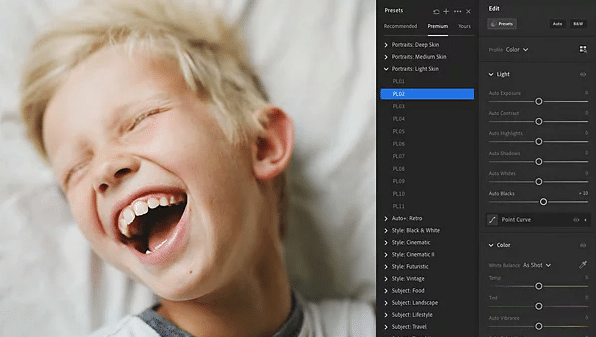
Source: Adobe
PS: Interested in trying presets? Most influencers will sell you theirs for a small fee, but we’re offering a pack of 10, created by our amazing designer Hillary, for free.
7. Afterlight
The filter library is populated by custom filters by photographers, so you know you’ve got a ton of great options to sift through. Advanced tools and interesting overlays (dust texture, anyone?) give photos a real film-like quality.
Source: Afterlight
8. Adobe Photoshop Express
This is the quick and dirty mobile edition of Photoshop, and takes advantage of AI technology to intelligently handle noise reduction, retouching, cutouts and more to clean things up with a few taps.

Source: Adobe
9. TouchRetouch
TouchRetouch is sort of a magic wand to fix any awkward moments in your photo: a few taps and — abracadabra! — that distracting powerline or photobomber in the background disappears. It costs $2.79, but once you’ve got this bad boy in your arsenal, blemishes will have nowhere to hide.

Source: The App Store
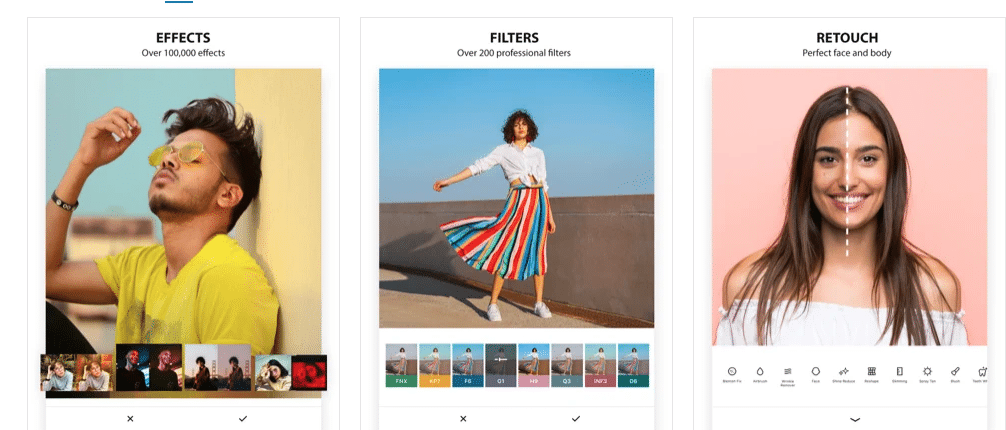
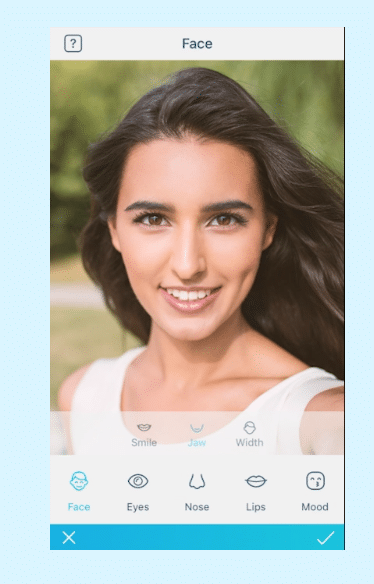
10. Facetune
This spooky-realistic face editing tool has been downloaded by over 100 million users. Smooth out rough patches subtly, amp up your best features, and generally ignore the true meaning of #IWokeUpLikeThis.
But don’t go overboard with the editing features. Many Instagram users are savvy enough to recognize when their favorite influencers are tuning their faces too much and may be turned off by your lack of authenticity.
Source: Facetune
These are just a few of the Instagram photo editing tools out there. There are plenty more Instagram apps—for editing or otherwise—to discover.
Now that you know how to edit Instagram photos, the key is to find a few apps that work for you and use them regularly to refine and enhance your posts.
From there, you can build an inspiring and engaging Instagram presence, one stunning photo at a time. Trust us—your followers will notice.
Save time and manage your entire Instagram marketing strategy in one place using Hootsuite. Edit photos and compose captions, schedule posts for the best time, respond to comments and DMs, and analyze your performance with easy-to-understand data. Try it free today.